

本篇结合温湿度传感器DHT11和OLED,将采集到的温湿度显示到OLED屏幕上。
DHT11使用上篇介绍的「DHT sensor library」库,OLED使用U8g2库,库安装请参照前面的文章介绍。
一. 实验材料
- Uno R3开发板
- 配套USB数据线
- 面包板及配套连接线
- OLED显示屏
- DHT11传感器模块
二. 实验步骤
1. 根据原理图搭建电路图。OLED屏的VCC和GND分别连接开发板的3.3V和GND,OLED屏的SDA和SCL分别连接开发板A4和A5。DHT11模块VCC、GND分别连接到开发板的5V、GND,模块的DATA引脚连接开发板数字引脚2。
实验原理图如下图所示:
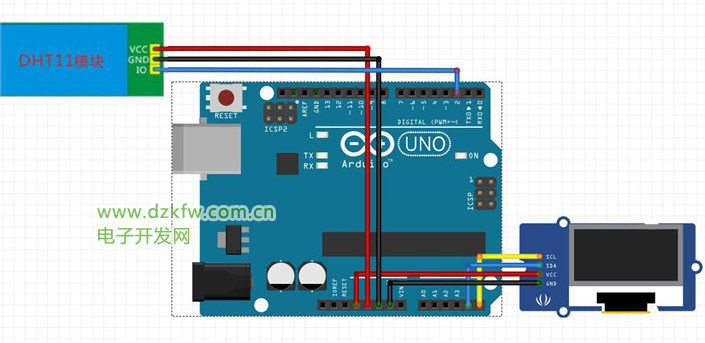
实物连接图如下图所示:

#include#include #include #include "DHT.h" #define DHTPIN 2 #define DHTTYPE DHT11 //iic驱动方式 U8G2_SSD1306_128X64_NONAME_1_SW_I2C u8g2(U8G2_R0, /* clock=*/ SCL, /* data=*/ SDA, /* reset=*/ U8X8_PIN_NONE); DHT dht(DHTPIN, DHTTYPE); void setup() { u8g2.begin(); dht.begin(); } char h_str[3]; char t_str[3]; float h; float t; void loop() { h = dht.readHumidity();//读湿度 t = dht.readTemperature();//读温度(摄氏度) strcpy(h_str, u8x8_u8toa(h, 2)); /* convert m to a string with two digits */ strcpy(t_str, u8x8_u8toa(t, 2)); /* convert m to a string with two digits */ u8g2.firstPage(); do { u8g2.setFont(u8g2_font_fur20_tf); u8g2.drawStr(0, 23, "T"); u8g2.drawStr(20, 23, ":"); u8g2.drawStr(40, 23, t_str); u8g2.drawStr(90, 23, "C"); u8g2.drawStr(0, 63, "H"); u8g2.drawStr(20, 63, ":"); u8g2.drawStr(40, 63, h_str); u8g2.drawStr(90, 63, "%"); } while ( u8g2.nextPage() ); delay(1000); }
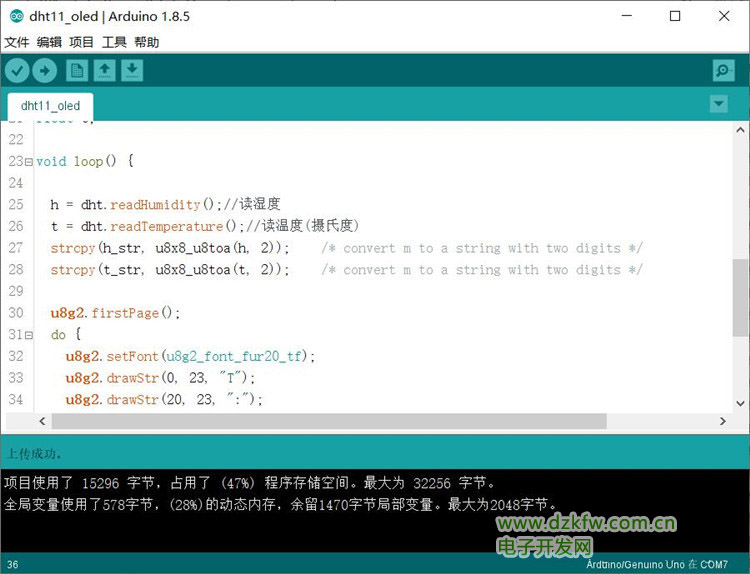
3. 连接开发板,设置好对应端口号和开发板类型,进行程序下载。
三. 实验现象
OLED屏幕刷新显示温湿度。
 返回顶部
返回顶部 刷新页面
刷新页面 下到页底
下到页底